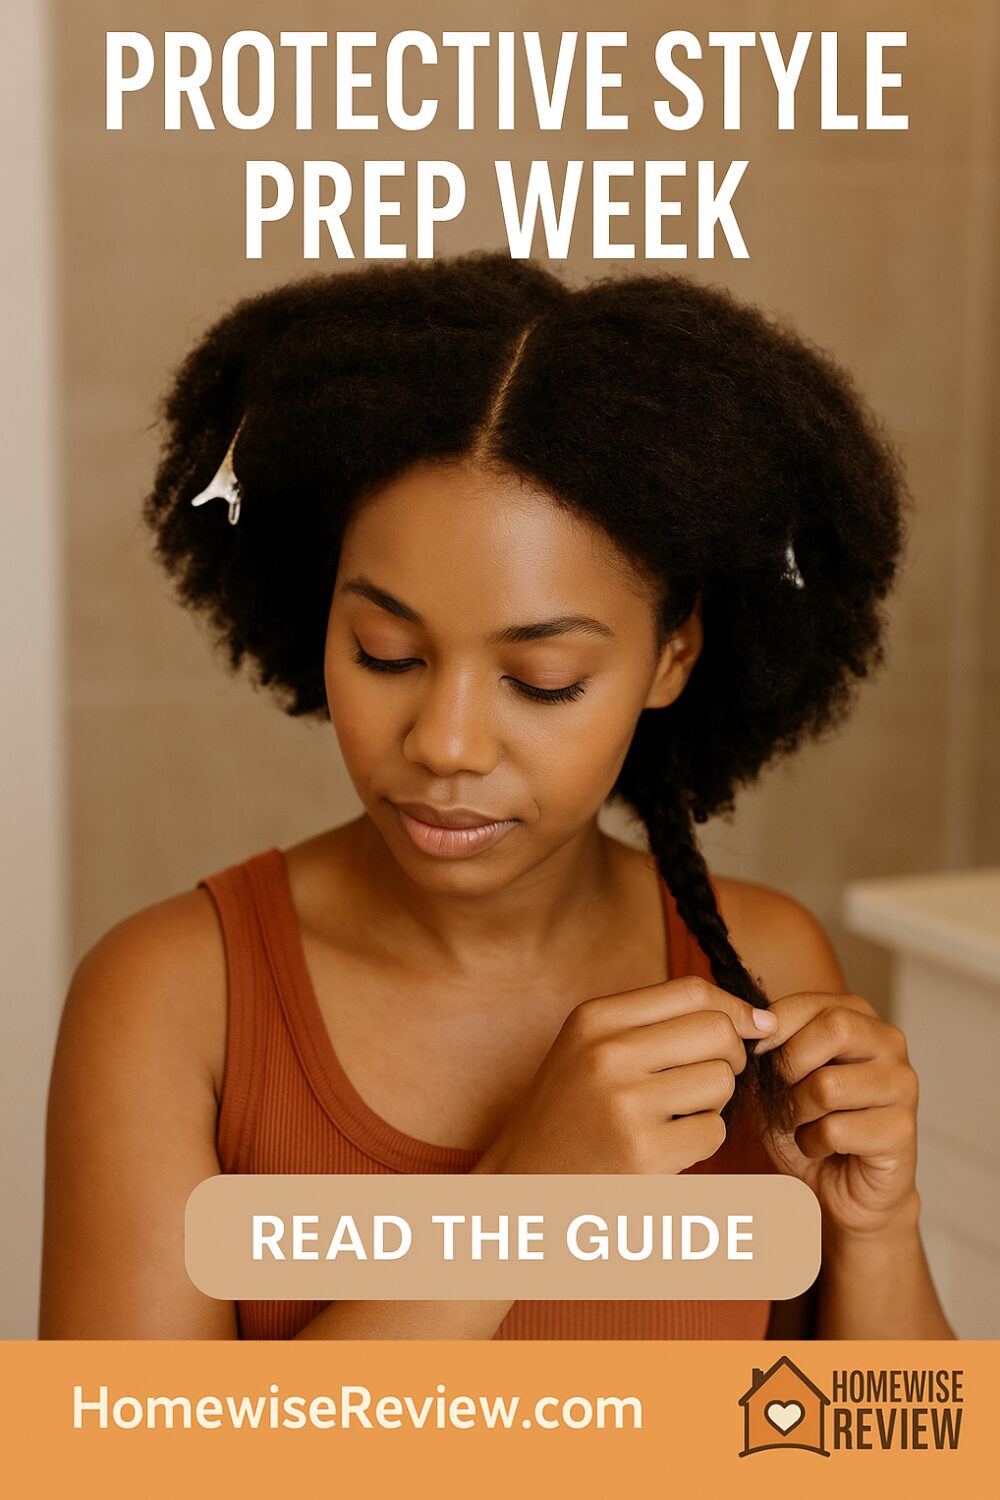
One week to set your hair up to thrive under braids, twists, or wigs.
Protective styles are a break for your ends, not a pause on care. A smart prep week gives you clean roots, strong strands, and smooth ends so installation is faster and your style lasts. Use this seven day plan to clarify, balance protein and moisture, trim lightly, and protect your scalp before you install.
What you’ll need
- Sharp hair shears for dusting ends
- Detangling brush or wide-tooth comb
- Clarifying or chelating shampoo
- Balanced protein mask and a rich deep conditioner
- Lightweight leave-in, sealant, and scalp serum
- Sectioning clips and a heat cap or steamer (optional)
The 7-Day Prep Plan
Day 1: Assess and micro-trim
- What to do: On stretched or blown-out hair, scan for thin, tangled, or see-through ends. Dust ¼ inch or less.
- Why it matters: Removing frayed tips stops knots from forming inside a long-wear style.
- Tip: If trimming makes you nervous, only snip mid-strand single-strand knots you can clearly see.
Day 2: Clarify or chelate
- What to do: Clean the slate so styles grip without gunk. Use a clarifying shampoo for product buildup. Use a chelating shampoo if you have hard water or swim.
- Low porosity: Shampoo once, rinse warm, follow with a light conditioner.
- High porosity: Shampoo once, follow with a richer rinse-out to keep ends plush.
Day 3: Light to medium protein
- What to do: Apply a balanced protein mask that lists hydrolyzed proteins or amino acids in the first half of the ingredients. Process with gentle heat 10–20 minutes.
- Why it matters: Protein helps hair handle the manipulation of parting, gripping, and styling.
Day 4: Deep moisture and detangle
- What to do: Use a rich deep conditioner with slip. Detangle in small sections from ends to roots. Rinse well at the scalp, leave a whisper of conditioner on the last inch if your ends crave it.
- Steam optional: A steamer or heat cap helps low-porosity hair take in more moisture.
Day 5: Scalp reset and grid practice
- What to do: Part hair into the grid you plan to wear. Check tension points around the hairline and crown. Massage a lightweight scalp serum that calms itch and keeps roots comfy.
- Why it matters: Healthy, clean roots plus a clear parting plan reduce install time and tension.
Day 6: Stretch without stress
- Heat-free option: Banding, African threading, large braids, or rollers.
- If using heat: Keep it conservative. Apply a heat protectant, blow-dry on low or use a cool setting to stretch just enough for neat parting.
- Goal: A gentle stretch that makes installation smooth without flattening your pattern.
Day 7: Install day checklist
- Hair is clean, balanced, and fully dry.
- Ends are smooth and tucked.
- Scalp is hydrated, not greasy.
- Set a tension rule with your stylist. If it hurts, it is too tight.
- Pack a mini kit: edge care, serum, and a satin scarf.
Match by hair and lifestyle
- Type 3 curls: Clarify every second prep week. Lighter protein usually suffices.
- Type 4 coils and 4C: Keep sections small while detangling. A medium protein step helps with manipulation.
- Low porosity: Use warm water and steam on Day 4. Go lighter on leave-in to avoid residue under styles.
- High porosity: Seal ends on Day 4 and again on install day to slow moisture loss.
- Sensitive scalp: Choose fragrance-free formulas and avoid heavy oils on the scalp itself.
- Gym or swim often: Favor chelating on Day 2 and plan gentle rinse routines during the style.
Product picks (4)
1) Chelating or Clarifying Shampoo
Why it works: Removes film, metals, and buildup so styles grip and products do not layer.
How to use: One focused cleanse on the scalp, then let suds run through lengths.
Keep in mind: Chelating is stronger. If hair feels squeaky, follow with a quick conditioner.
Who it’s for: Anyone prepping for long wear, hard water areas, swimmers.
2) Balanced Protein Mask
Why it works: Hydrolyzed proteins reinforce vulnerable spots without making hair stiff.
How to use: Apply root to tip after cleansing. Process 10–20 minutes, then rinse.
Keep in mind: If hair feels brittle, reduce frequency or follow with a richer deep condition.
Who it’s for: Fine or breaking strands, frequent protective stylers, heat users.
3) Rich Deep Conditioner with Slip
Why it works: Emollients and conditioning agents boost softness and make detangling safer.
How to use: Work in small sections, detangle, then rinse well at the scalp.
Keep in mind: Too much left on roots can itch under a style. Keep residue to the last inch only if needed.
Who it’s for: Coils that tangle easily, high density hair, low porosity that likes heat.
4) Lightweight Scalp Serum
Why it works: Soothes, adds gentle hydration, and keeps roots comfortable under styles.
How to use: Massage a few drops along parts on Day 5 and again after install every 2–3 days as needed.
Keep in mind: Avoid heavy oils that can clog or attract lint.
Who it’s for: Tender scalps, tight grids, wig wearers, and anyone prone to itch.
Quick fixes vs long-term habits
- Quick fix: If parts feel tight after install, dab a little scalp serum and gently press the base of each braid to release tension.
- Long-term: Keep a strict remove-by date, usually 6–8 weeks for braids and twists, shorter if edges look stressed. Build a monthly clarify-protein-moisture rhythm between styles.
Final Thoughts
A protective style should protect. That means going in with clean roots, trimmed ends, and a strong moisture-protein balance. Use this week to reset, then keep a light touch on the scalp and edges after install. You will get longer wear, easier takedown, and healthier hair when the style comes out.
See also
Starting a shopping list or picking tools for this week? Visit Natural Hair Products | Best Picks for Coils, Curls, Kinks for conditioners with real slip, gentle serums, and detangling tools that work for coils. To understand your cleanse step, Chelating vs Clarifying Shampoo: What Each Does and When to Use explains which reset to pick before installation.
If edges are your weak point, Edge Care Routine for Protective Styles: reduce tension and thinning maps safer habits around your hairline. Wearing units or sew-ins soon? Scalp Care Under Wigs Keep Growth Going shows how to keep roots clean and comfy. For a safer stretch before install, Stretching Without Heat Methods Compared covers technique and timing.
FAQs
1) Do I need to trim before every protective style?
Only a light dust when ends look frayed or knotty. If you trim regularly, a micro-trim every second or third style is fine.
2) Can I skip protein if my hair is soft?
You can, but a light protein step helps many coils handle parting and grip. If your hair gets stiff, cut the time or frequency.
3) Should I oil my scalp before installation?
Use a lightweight serum. Heavy oils can trap dirt and make itch worse under a long-wear style.
4) How dry should my hair be on install day?
Fully dry. Damp hair under extensions can mildew and cause scalp odor.
5) How long can I safely keep a protective style in?
Aim for 6–8 weeks max for most braid and twist styles. Remove sooner if you see buildup, itch, or tension at the hairline.
Affiliate Disclosure
If you purchase through links on our site, we may earn a small commission at no extra cost to you.


