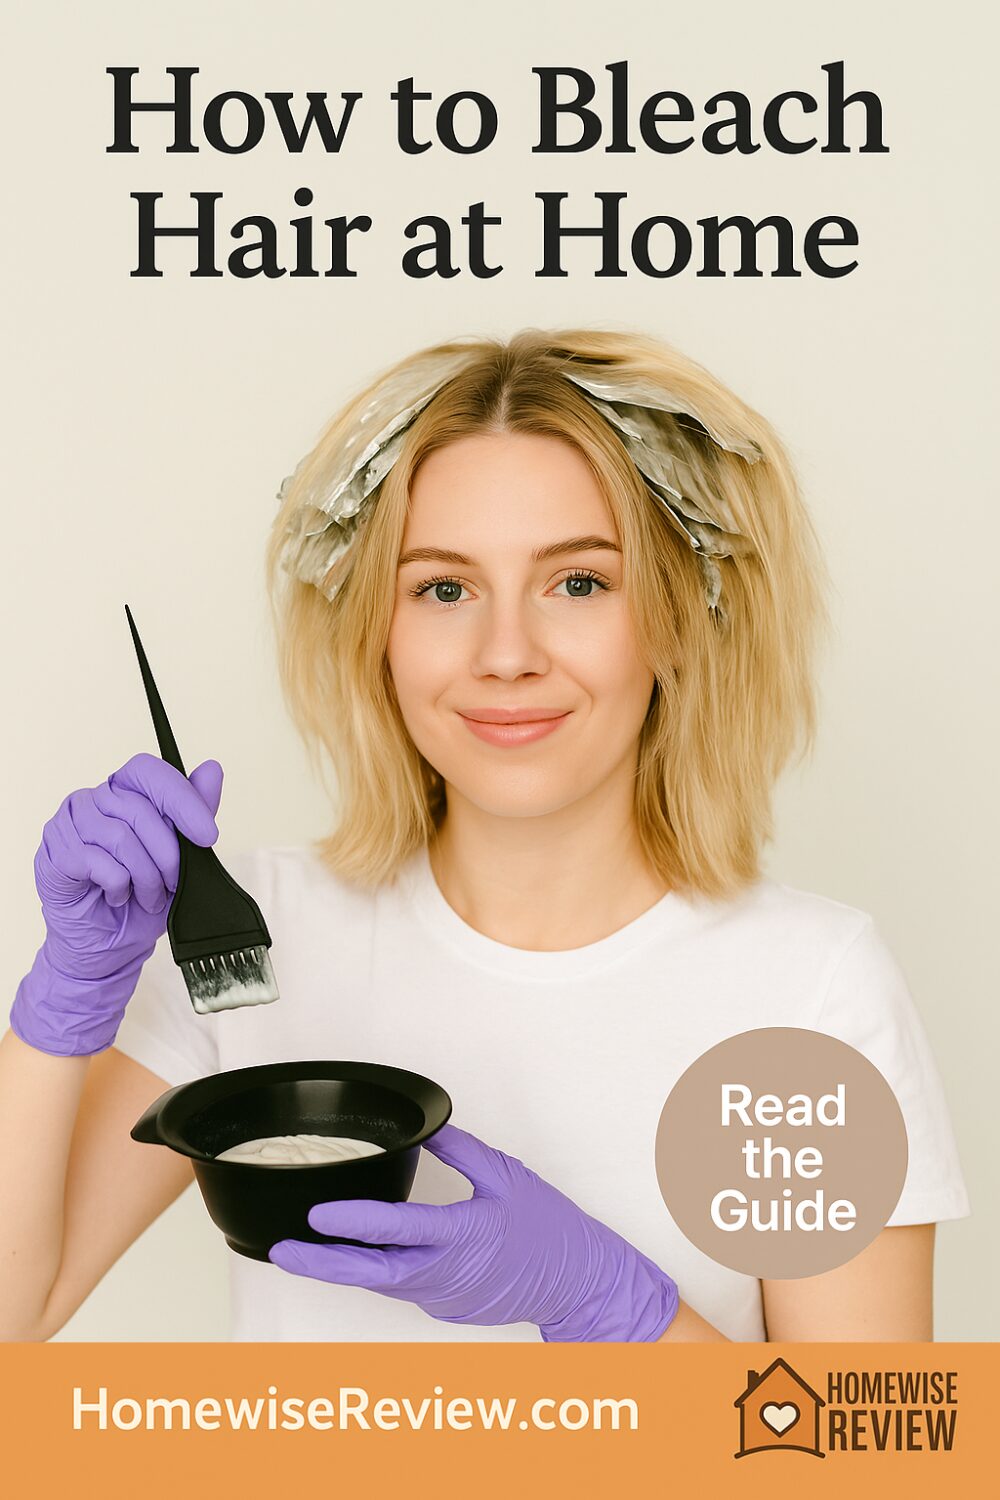
Getting lighter at home is possible if you treat bleaching like a project with safety rules. The goal is controlled lift with healthy-looking hair at the end, not just pale strands today and breakage next week. This guide walks you through tools, developer choices, strand testing, smart sectioning, timing, and aftercare so you get predictable lift and fewer brass surprises.
Why this matters
Bleach does not add color, it removes natural and artificial pigment. That means your hair passes through red, orange, and yellow stages before it is light enough to tone. The more you rush or over-process, the more you raise porosity and the quicker your new blonde will fade dry and brassy. A careful plan protects your cuticle, avoids banding, and keeps your scalp comfortable. You will choose the right developer for your target lift, apply in an order that prevents hot roots, and stop at the first safe checkpoint rather than chasing paper white in one pass. With that mindset, at-home lightening can be clean, even, and far less stressful.
What you need
Gloves, plastic bowl and tint brush, plastic clips, tail comb, plastic cape or old T-shirt, timer, petroleum jelly for skin, non-metal mixing spoon, foil or mesh sheets to keep sections moist, a gentle clarifying shampoo, a hydrating mask, and a color-safe purple or blue shampoo for later. A small digital scale helps you mix consistently. Work in a ventilated room and protect counters. Never use metal bowls or tools with bleach.
Developer basics you can trust
Developers are labeled by volume. They control how fast and how far you lift. Ten volume is for gentle shifts or toning on already light hair. Twenty volume gives controlled lift and is the safest choice for on-scalp applications. Thirty volume lifts faster off-scalp and can be used on mid-lengths and ends if your hair is healthy. Forty volume is not recommended at home. On-scalp with high developer risks burns. If you need large jumps, plan multiple gentle sessions with recovery time between them rather than one harsh push.
Step-by-step plan
1) Do a strand test and sensitivity check.
Mix a small batch and apply to a hidden section. Note how long it takes to reach your target and how the hair feels when rinsed. If your scalp is sensitive, test a tiny dot behind the ear with developer only. If anything itches or burns, do not proceed.
2) Start clean and dry.
Wash the day before with a gentle clarifier to remove oils and product build-up. Skip heavy conditioners right before bleaching. Dry hair gives a more accurate read on saturation and lift.
3) Mix correctly.
Most powder bleaches mix at 1 part powder to 2 parts developer. Check your product instructions and stick to them. Mix until creamy with no lumps. Make small fresh batches so the mixture stays active.
4) Section for control.
Create four quadrants, then work in thin horizontal slices you can fully saturate. Coat the hair, not just paint the surface. If you see dark strands, you need more product.
5) Apply mids and ends first, roots last.
Heat from your scalp speeds lift at the roots. Start one to two inches away from the scalp, working through mids and ends. Once the lengths have a head start, go back and apply to the roots. This prevents bright roots with darker lengths.
6) Watch and time.
Use your strand test time as a guide. Typical windows range from 15 to 45 minutes. Check every 5 minutes by wiping a small spot. If the hair feels stretchy, gummy, or hot on the scalp, rinse immediately. Never exceed the maximum time on your product.
7) Rinse and cleanse thoroughly.
Rinse until water runs clear and the slick feel is gone. Shampoo gently to stop the chemical action. Do not leave residue in the hair or on the scalp.
8) Tone if needed.
If you see yellow or orange you want to neutralize, use a demi-permanent toner in a complementary shade or start with a purple or blue shampoo once or twice a week. Do not tone with permanent high-lift color on freshly bleached hair.
9) Rebuild and seal.
Follow with a bond-building or hydrating mask, then cool water to help close the cuticle. Avoid hot tools for at least 48 to 72 hours.
When to use which option
Single gentle lift, on-scalp:
Use twenty volume, work slowly, and stop when you clear the warm stage you planned for. Ideal for going from dark blonde to light blonde or nudging light brown toward caramel.
Off-scalp refresh on healthy lengths:
You can use twenty to thirty volume on mids and ends if your hair is strong. Start there, then do roots with twenty volume later. If hair has old color or feels fragile, stay with twenty volume and accept a smaller lift per session.
High-lift dye instead of bleach:
High-lift permanent color can work on virgin dark blonde to light brown for small jumps and a cooler result, but it struggles on darker levels and will not remove old dye. Use bleach if you have previous color, vivid pigments, or you are starting from medium brown or darker.
Bleach bath for minor brightening:
Diluting bleach mixture with equal parts shampoo can give a gentle refresh on already light hair. Only do this off-scalp and for short times. It is not a fix for dark permanent color.
Quick fixes vs long-term habits
Quick fixes are purple or blue shampoo once weekly to curb yellow or orange, a toning gloss every three to four weeks to keep brightness, and a root smudge with demi to soften lines. Long-term habits matter more. Wash less often with low-sulfate formulas, use a heat protectant before any hot tool, add a weekly hydrating mask, and rotate a light protein treatment if your hair feels overly soft and stretchy. If your water is hard, install a simple shower filter and use a chelating wash once a month to remove minerals that dull blonde.
Troubleshooting
Hot roots:
Your roots lifted faster because of scalp heat. Next time, give mids and ends a 10 to 15 minute head start and apply roots with a lower volume developer. A quick root smudge with a slightly deeper demi can blend the transition today.
Banding:
You see darker or warmer rings where old color lives. Work in smaller sections and fully saturate those bands first on the next session. A targeted low-volume re-bleach on the band only, followed by a cool toner, usually evens it out.
Patchy lift:
You used too little product or sections were too thick. Apply more product, take thinner slices, and use foils or mesh to keep mixture moist. For today, a targeted toner can camouflage uneven warmth.
Elastic, rough hair after rinse:
You pushed too far. Stop chemical work, trim ends if needed, and switch to gentle washing, bond-building, and light protein once a week. Heat tools off for a while.
Stinging scalp:
Rinse immediately. On-scalp should only be done with twenty volume or lower. Protect skin next time with a thin barrier cream along the hairline and partings, but keep it off the hair.
Safety notes you should not skip
Do not bleach over henna or metallic-salt dyes since they can react unpredictably. Do not overlap bleach on already very light, fragile ends. Never exceed the product’s maximum processing time. Keep bleach off eyebrows and lashes. If you feel burning, rinse and stop. If your hair is breaking, reschedule the next lift for several weeks and prioritize strength and moisture.
Final Thoughts
Bleaching at home is a chemistry job with a beauty payoff. Respect the steps, keep developer choices conservative, and let timing be your friend. Plan several small lifts rather than one heroic session, then lock in tone with smart toning and care. If you treat the process like a system, you will land a bright, believable blonde that still feels like hair you want to touch.
See also
A quick way to plan your full color path is to start with Best At-Home Hair Dye, our router page that covers developers, sectioning, and aftercare from a beginner’s point of view. If you are weighing kit options before you mix, Best Hair Bleach explains lift expectations and safer picks for on-scalp versus lengths. Once you are light, Best Purple Shampoos for Blonde & Gray Hair helps you keep brass down with a simple routine. If your ends feel rough, Best Hair Mask for Damaged Hair shows how to balance moisture and protein without stiffness. Clean application matters too, so keep How to Get Hair Dye Off Skin handy for color day.
FAQs
1) How many levels can I lift in one session safely at home?
Two to three levels is a realistic target for healthy hair with twenty volume. Pushing further in one go increases damage and uneven tone. Plan multiple gentle sessions with rest between them.
2) Can I bleach over previously colored dark hair?
Yes, but old dye lifts warm and uneven. Expect more orange stages, and plan for a second session later plus careful toning. Never stack high developer on the scalp to chase speed.
3) Do I need a bond builder?
Bond builders help maintain strength during lightening, especially on medium to long hair. They are not magic, so keep developer conservative and timing strict.
4) How soon can I tone after bleaching?
You can tone right after you rinse and shampoo, as long as your scalp feels calm. Choose a gentle demi-permanent toner and avoid strong permanent color on freshly bleached hair.
5) How long should I wait between bleaching sessions?
Two to four weeks is a common window. That gives cuticles time to settle and lets you assess elasticity. In the meantime, focus on hydration, light protein if needed, and very gentle styling.
Affiliate Disclosure
If you purchase through links on our site, we may earn a small commission at no extra cost to you.


